Are you looking to benefit from the latest Punjab government schemes in 2025? From ration cards to interest-free loans, the Punjab government offers a variety of programs designed to support its citizens. But here’s the catch: to access these benefits, you need to be registered on the Punjab Socio-Economic Registry (PSER) portal.
Think of the PSER as your gateway to opportunities. Without registering, you risk being ineligible for future schemes. Don’t miss out!
Some of the schemes include:
- Ration card
- Benazir card
- Health card
- Free solar panels
- Free plots
- Interest-free loans
Ready to get started? You can find the official PSER website here: https://pser.punjab.gov.pk. For real-time updates and information,
Getting Started: Creating Your PSER Account
Accessing the PSER Portal
Whether you’re on your phone or using a computer, the first step is to open your web browser. Then, simply type “PSER” into your search engine. You’ll see a list of links – click on the one that says “Punjab Portal” or mentions “Punjab Socio-Economic Registry”.
The Registration Form
Before you can apply for any schemes, you’ll need to create an account on the PSER portal. This is where you’ll provide your basic information. Look for the “Register Now” button and click on it.
You’ll be presented with a user registration form. Here’s what you’ll need to fill out:
- Full Name: Make sure you spell your name correctly.
- CNIC Number (Shanakhti Card Number): Double-check that you enter your CNIC number accurately.
- Mobile Network: Select your mobile network from the dropdown menu.
- Mobile Number: Enter a valid mobile number that you have access to.
- District: Select your district from the dropdown menu.
- Tehsil: Enter your tehsil.
- Email Address: While optional, it’s a good idea to provide an email address.
- Password: Create a strong password that you can remember.
- Confirm Password: Re-enter your password to confirm it.
Once you’ve filled out all the fields, click the “Register” button.
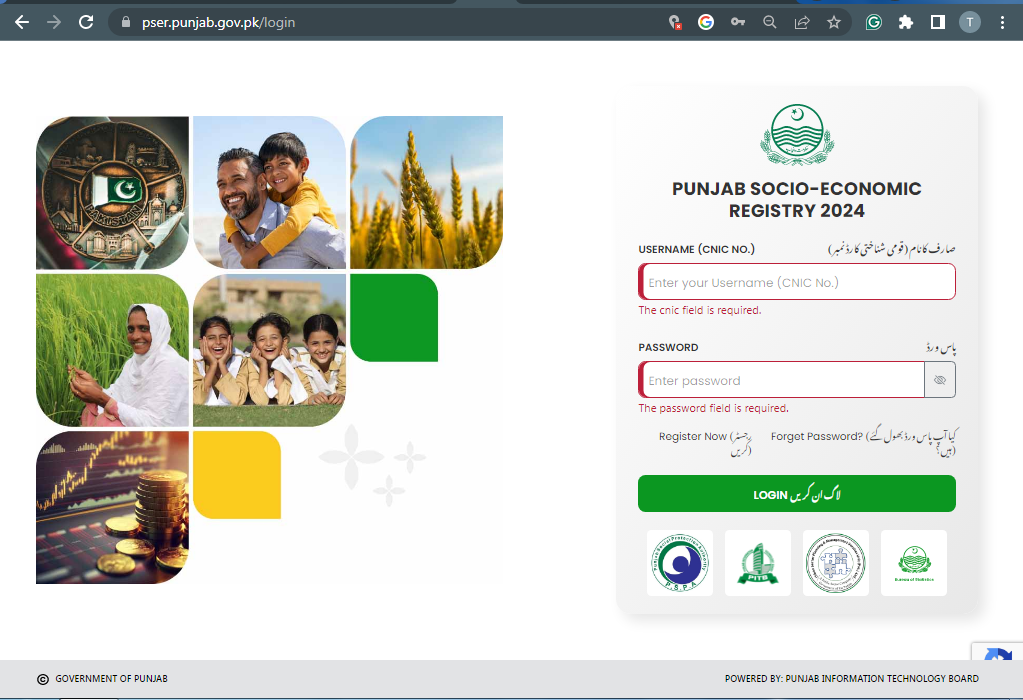
Logging In
After you’ve registered, you can log in to the PSER portal using your CNIC number and the password you created during registration. Simply enter your credentials on the login page and click the “Login” button.
Completing Your PSER Application
Navigating the Dashboard
Once you’re logged in, you’ll see the PSER dashboard. Initially, it might appear empty, but don’t worry! Look for the “New Application” button – it’s usually blue. Click on it to start your application.
Before you proceed, you’ll see a declaration. This is where you confirm that the information you’re providing is accurate and truthful. Check the box and click the “Save” button to move forward.
Step 1: Family Head Information
This section requires information about the head of your family. This could be your father, mother, older sibling, or anyone who is considered the head of your household.
Here’s the information you’ll need to provide:
- Family Head’s Full Name: Enter the full name of the family head.
- CNIC Number: Enter the CNIC number of the family head accurately.
- Mobile Network: Select the mobile network used by the family head.
- Mobile Number: Enter the mobile number of the family head.
- Re-enter Mobile Number: Confirm the mobile number by entering it again.
Once you’ve entered all the information, click “Save and Next”. You’ll then be prompted to verify the mobile number via an OTP (One-Time Password). An OTP will be sent to the mobile number you provided. Enter the OTP in the designated field and click “Verify OTP.”
Step 2: Family Information (Adding Family Members)
Now it’s time to add details for each member of your family. The family head’s information may already be filled in.
For each family member, you’ll need to provide the following information:
- Name
- Gender: Select either “Male” or “Female.”
- Date of Birth: Use the date picker to enter the date of birth. The age will be calculated automatically.
- Age: This will be automatically calculated based on the date of birth you enter.
- CNIC Issue Date: Use the date picker to enter the date the CNIC was issued.
- CNIC Expiry: Indicate whether the CNIC expires. If it does, enter the expiry date.
- Marital Status: Select the appropriate marital status (e.g., Married, Unmarried, Widowed).
- Current Address (District): Select the district from the dropdown menu.
- Health Status: Indicate if the family member has any disabilities or chronic illnesses.
- Education Status: Select the highest level of education completed.
- Employment Status: Select the appropriate employment status (e.g., Employed, Unemployed, Looking for Work).
- Bank Account: Indicate whether the family member has a bank account (Yes/No).
To add more family members, click the “Add New Member” button and repeat the process for each individual. Remember to click “Save” after adding each member’s information.
Step 3: Contact Information
Accurate contact details are essential for the PSER. You’ll need to provide the following:
- Division: Select your division from the dropdown menu.
- District: Select your district from the dropdown menu.
- Tehsil: Select your tehsil from the dropdown menu.
- Union Council: Enter your Union Council.
- Village: Enter the name of your village.
- Postal Address: Enter your full postal address.
- Area Type: Select whether you live in an urban or rural area.
- Post Office: Enter your post office, if applicable.
- Is Current Address Same as Permanent Address?: Indicate whether your current address is the same as your permanent address.
- Contact Number: Verify that the contact number is correct.
After completing this section, click “Save and Next.”
Step 4: Assets Information
This section focuses on your family’s assets and living conditions. You’ll be asked questions like:
- Does your family own the residential unit? (Yes/No)
- What is the main material of the exterior walls? (Brick, Mud, Wood, etc.)
- What material is used for the roof? (Concrete, TR Girder, etc.)
- What type of house is it? (Residential, Commercial)
- How many rooms are used for sleeping and living?
- What type of fuel is used for cooking? (Gas, Wood, etc.)
- What type of toilet is used? (Flush, Pit Latrine, etc.)
- What is the main source of drinking water? (Tap water, Hand pump, etc.)
- Do you have an electricity connection? (Yes/No)
- Do you have a gas connection? (Yes/No)
- Do you have a landline phone? (Yes/No)
- Do you have livestock? (Yes/No)
- Do you have agricultural land? (Yes/No)
You’ll also be asked about various appliances you own, such as a heater, washing machine, geyser, air cooler, AC, fan, microwave oven, cooking stove, television, refrigerator, freezer, UPS/Generator, sewing machine, personal computer, motorcycle, tractor, car, mobile phone, and internet. Answer “Yes” or “No” for each item.
If you own a vehicle, you’ll need to enter the vehicle registration number.
Once you’ve completed this section, click “Save and Next.”
Step 5: Agricultural Information (If Applicable)
If your family is involved in agriculture, you’ll need to provide information about your agricultural status. Select the option that best describes your family’s land ownership and cultivation practices.
After completing this section, click “Save and Next.”
Step 6: Miscellaneous Information
In this final section, you’ll be asked a few miscellaneous questions:
- Has the family received any assistance from government sources in the last three years? (Yes/No)
- Has there been a death of a child under one year old in the family in the last 12 months? (Yes/No)
- Has there been a stillbirth in the family in the last 12 months? (Yes/No)
- Does the family have access to a mobile phone? (Yes/No)
- Does the family have internet access? (Yes/No)
- Has the family been affected by any natural disasters in the last five years? (Yes/No)
After answering these questions, click “Save and Next.”
Review and Submit Your Application
Congratulations, you’ve reached the final step!
Now, you’ll be able to review all the information you’ve provided in the application form. Take your time and carefully check for any errors or omissions. If you find anything that needs to be corrected, go back to the relevant section and make the necessary changes.
Once you’re satisfied that all the information is accurate, scroll down to the bottom of the page and click the “Submit” button. You’ll be asked to confirm that you’ve provided accurate information. Check the box and click “Submit” again to finalize your application.
Conclusion
You’ve successfully completed your PSER registration! By registering on the PSER portal, you’ve opened the door to a range of potential benefits from Punjab government schemes in 2025. Keep an eye out for updates and announcements regarding eligibility criteria and application deadlines for specific schemes.